Hexo博客搭建教程

自从上次成功搭建博客之后我就一直想写篇教程,但是由于没有时间(主要是懒)也就一直没有写。直到这次五一放假,终于有了空闲的时间。我自己觉得我这样的小白写的教程应该比较全面,毕竟把什么坑都踩了一遍。接下来开始我们的博客搭建。
搭建平台:Windos10 v1909 x64
博客框架:Hexo
安装环境
下载Node.js
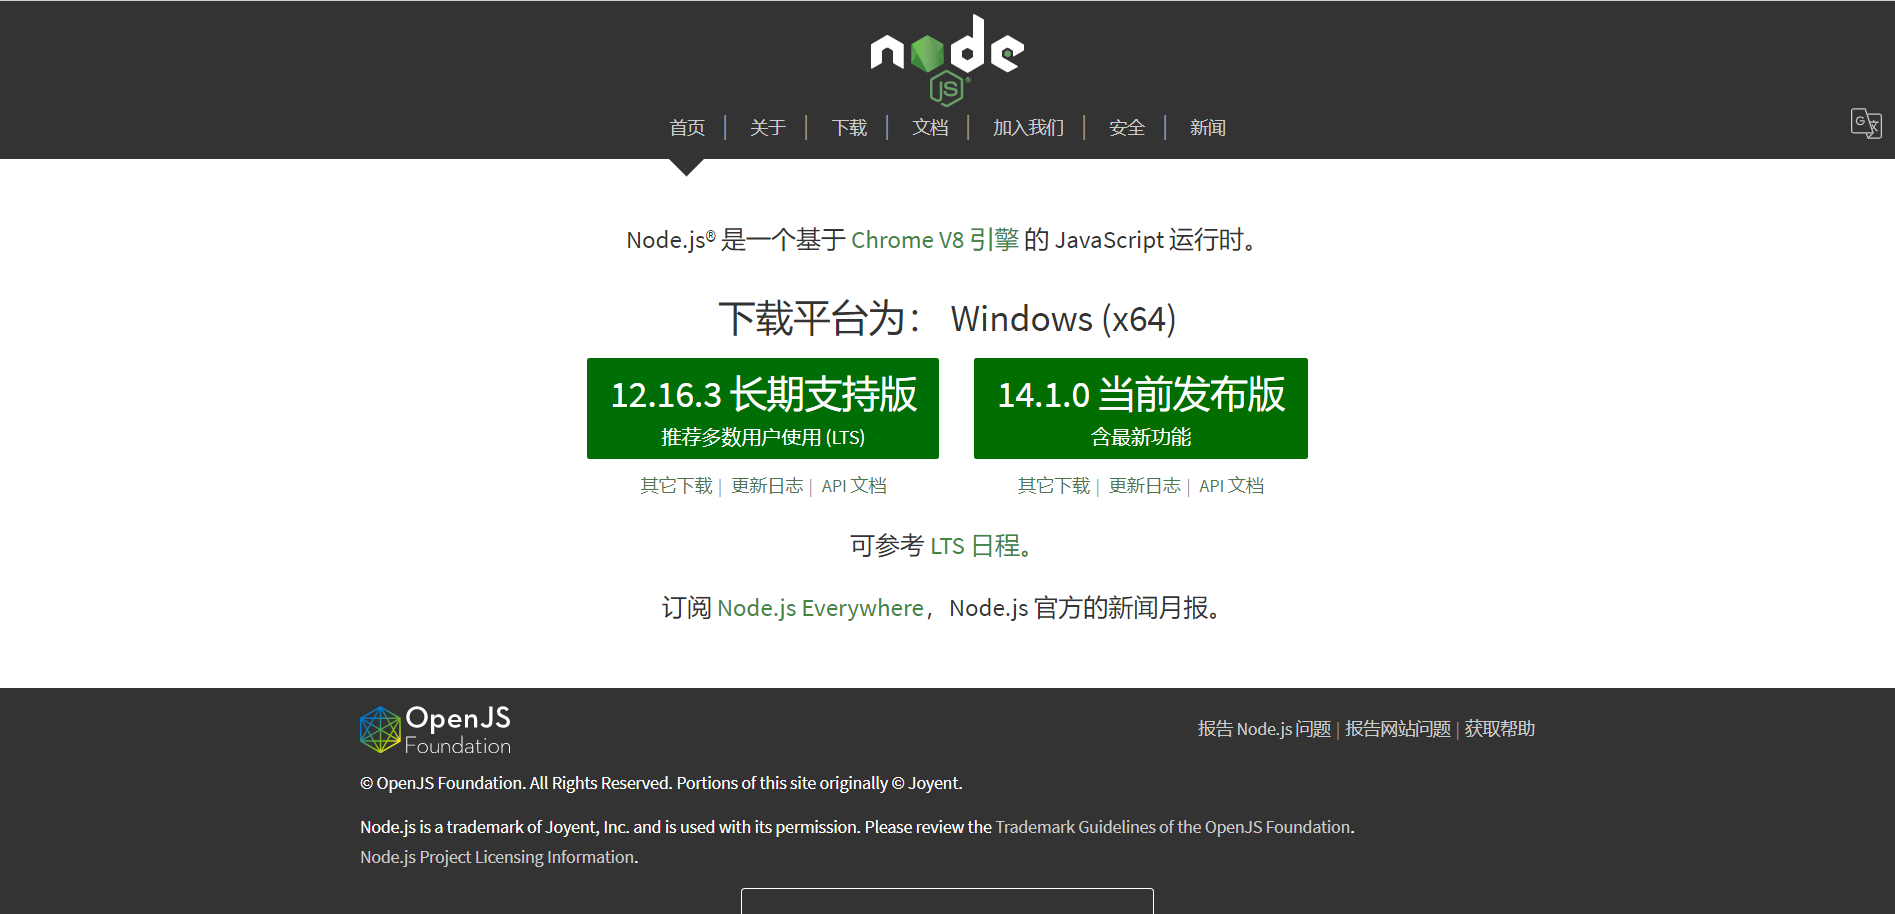
安装Node.js
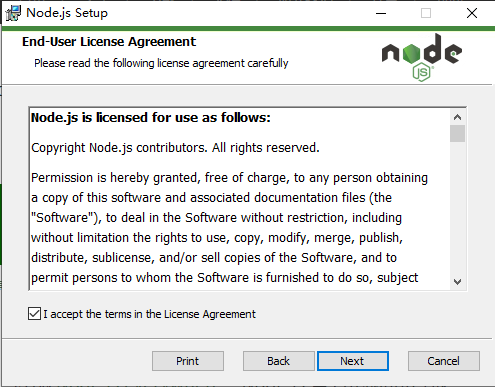
- 点击Next即可
下载Git
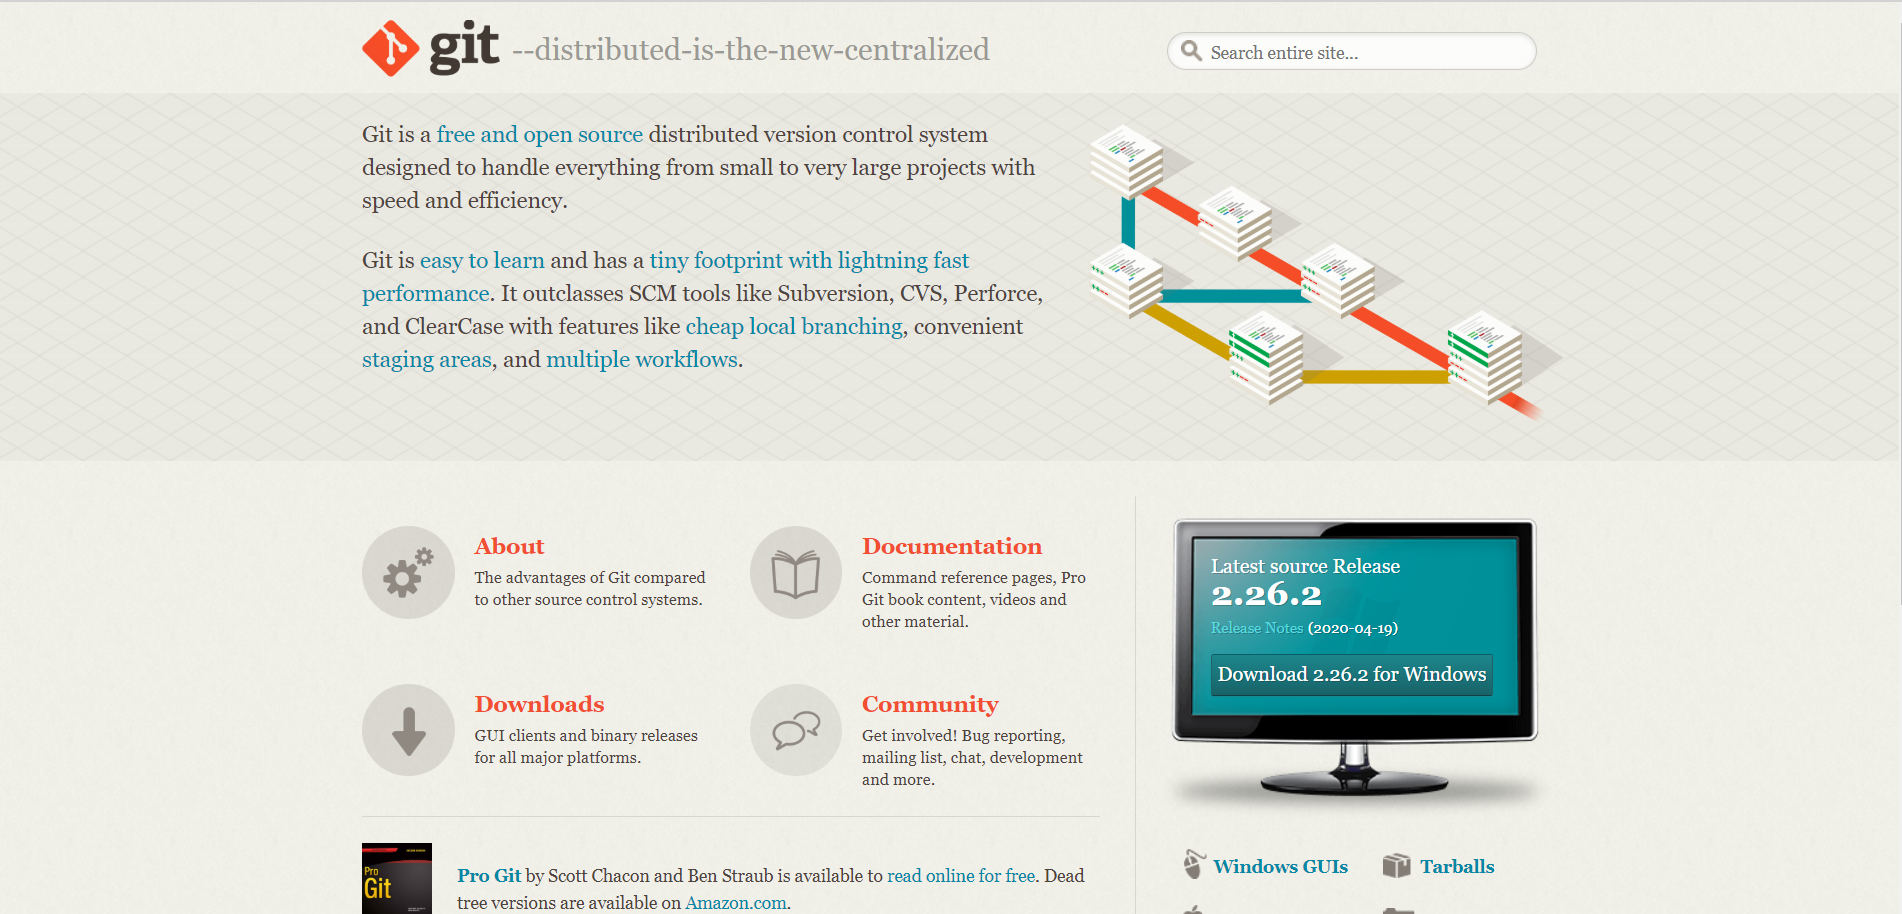
安装Git
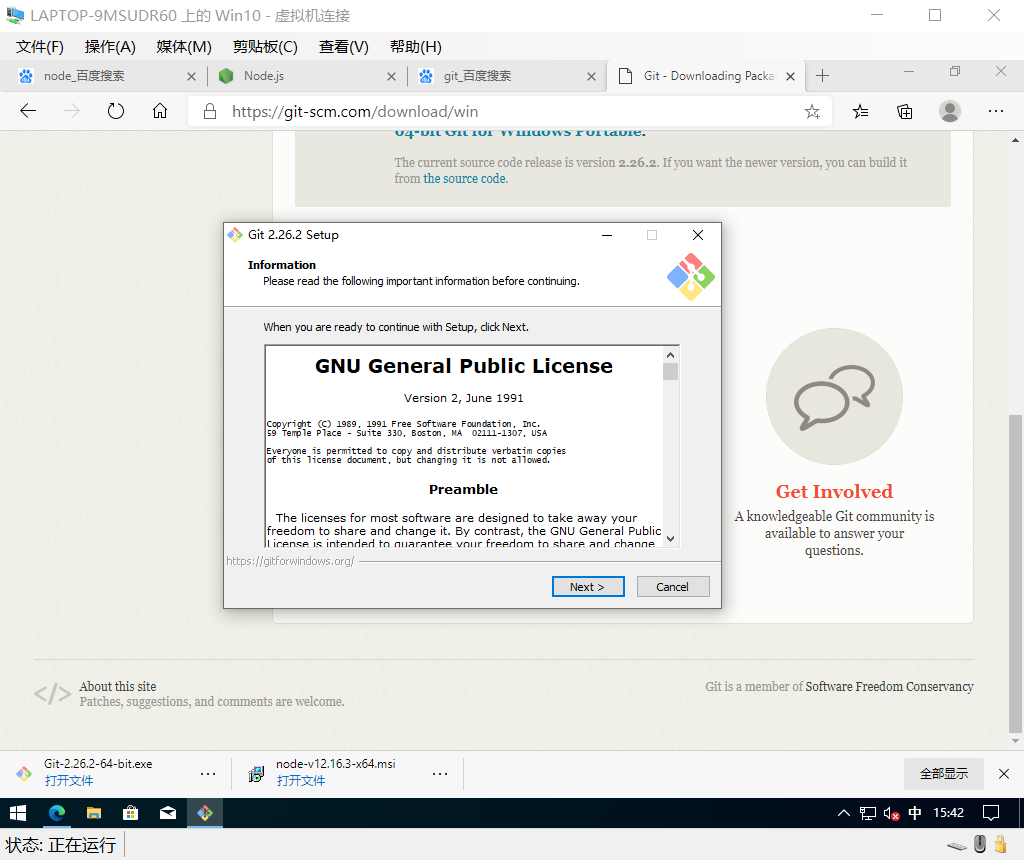
- 点击Next即可
部署环境
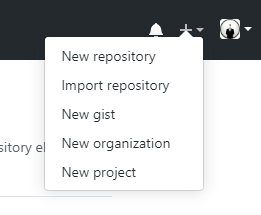
注册Github并创建仓库
注册成功Github账号后需要创建一个仓库
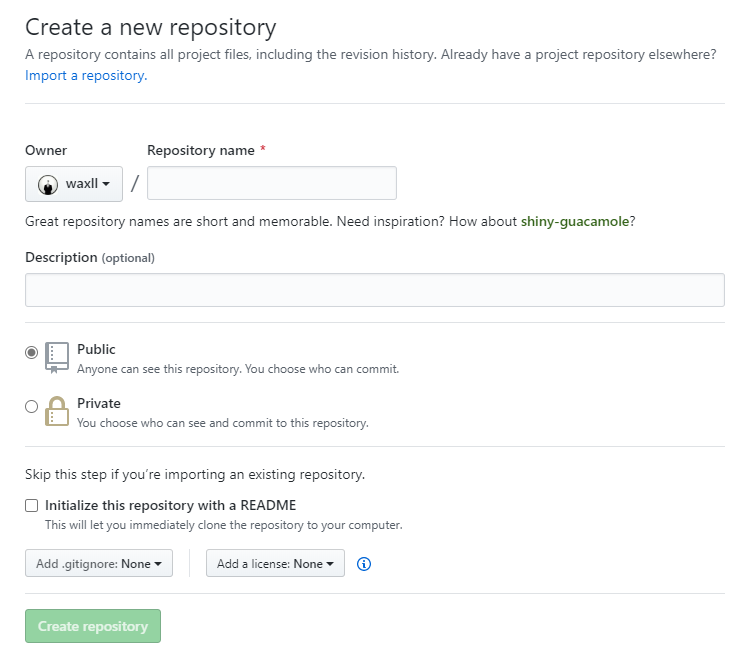
在Repository name 中输入”用户名.github.io”
注意用户名与注册用户名相同否则博客无法正常打开
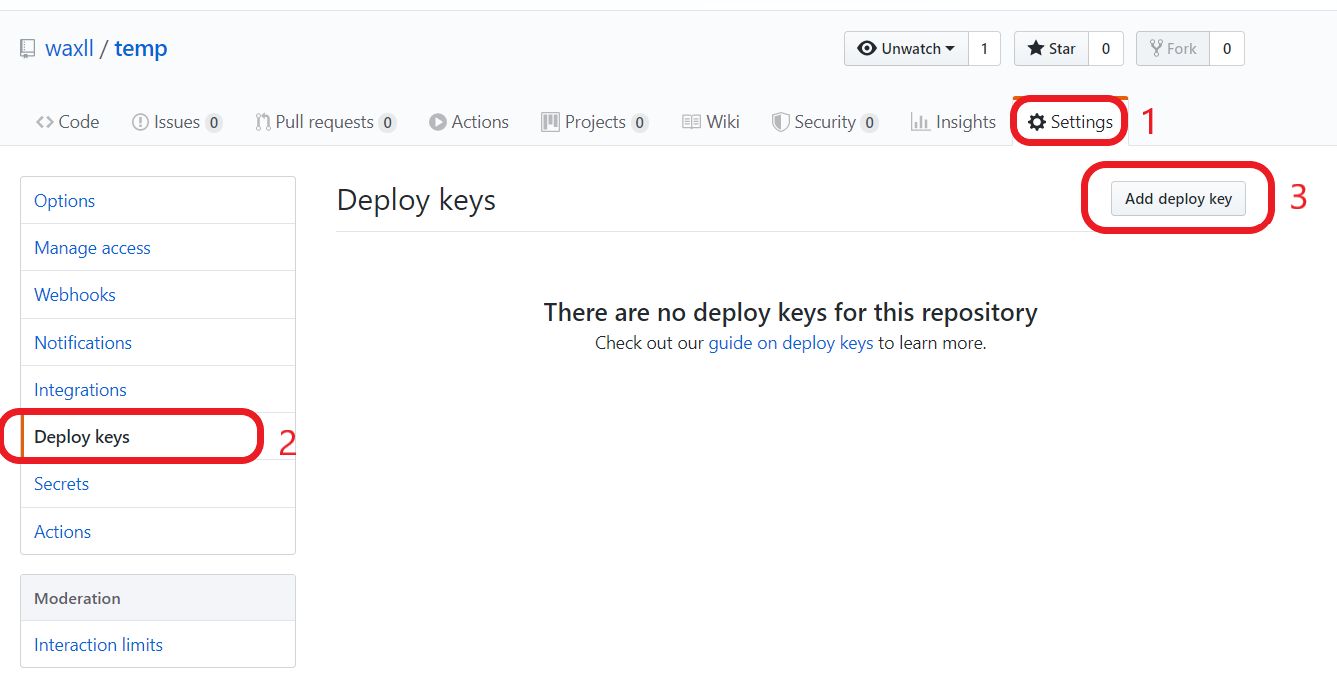
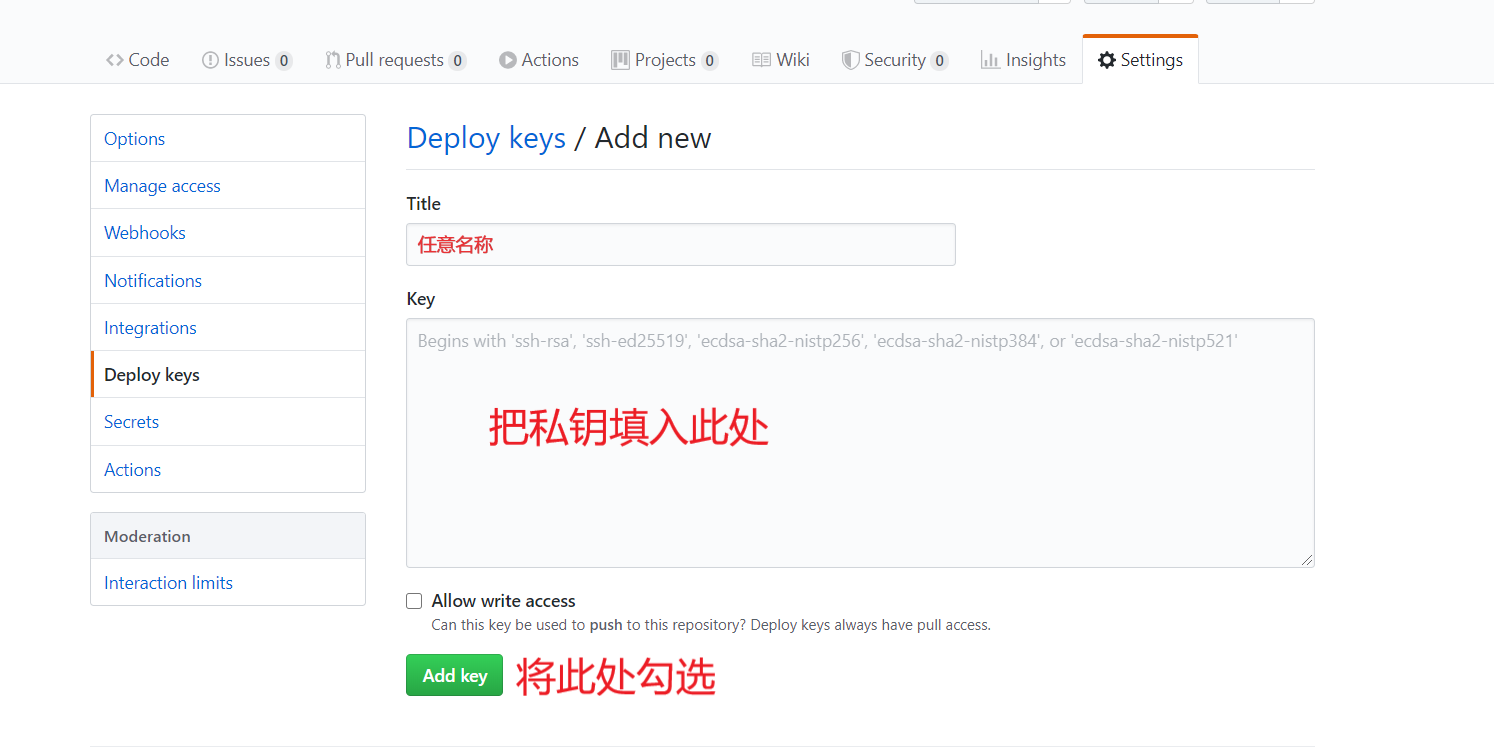
配置SSH密钥
win+R 输入 “cmd”打开CMD
设置 “user name”和 “email”
1
2
git config --global user.name "Github用户名"
git config --global user.email "GitHub注册邮箱"生成SSH密钥
1
ssh-keygen -t rsa -C "GitHub注册邮箱"
这里回车就行然后会在C盘用户目录下会生成一个***.ssh文件夹,里面有私钥id_rsa和公钥id_rsa_pub***。
在Github上添加SSH密钥。具体步骤如下:
验证SSH密钥在CMD中输入:
1
ssh -T git@github.com

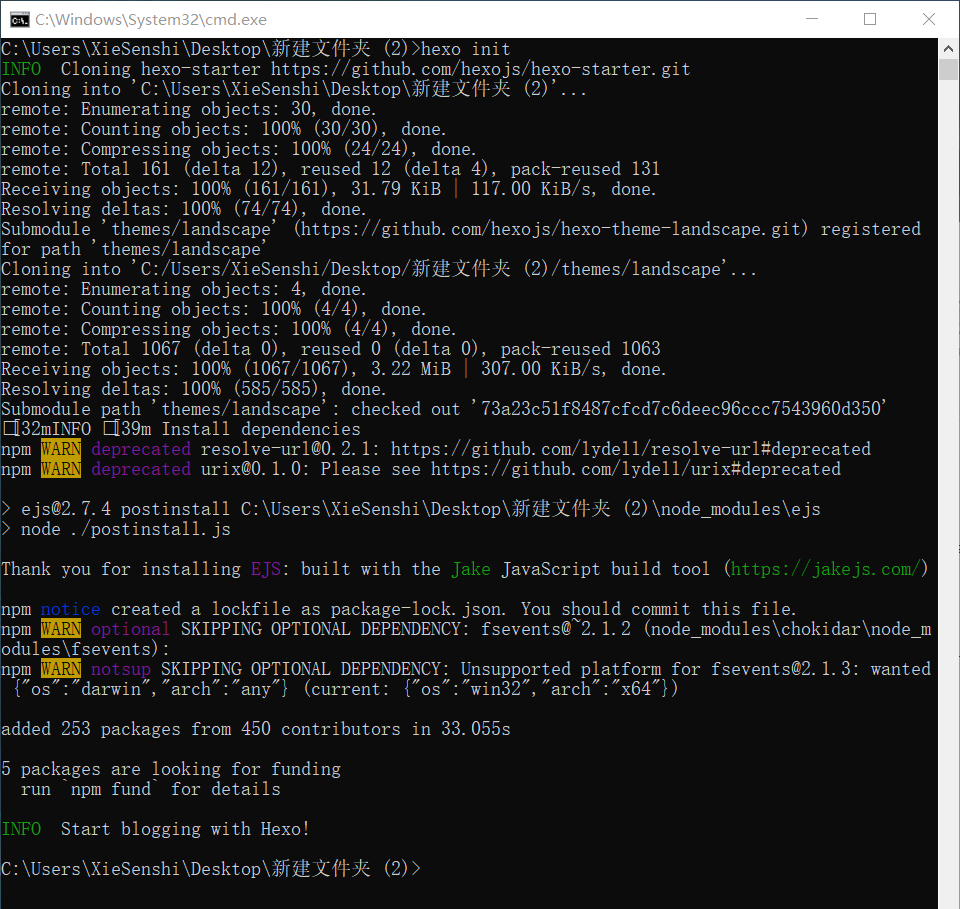
安装Hexo
在D盘创建以后个Blog文件,切换到Blog目录下。
使用淘宝的npm源安装hexo
1
2
3
npm install -g cnpm --registry=https://registry.npm.taobao.org
cnpm install hexo-cli -g
cnpm install hexo --save初始化Hexo
1
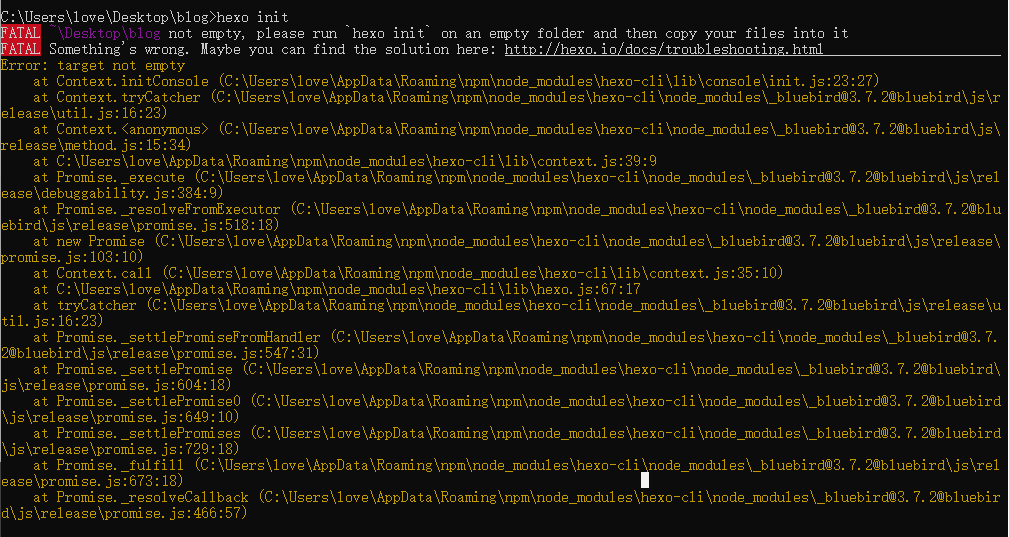
hexo init
此处若出现以下情形这需要将Blog文件夹下的文件清空再重试
安装相关插件
1
2
3
4
5
6
7
8
9
10
11
12
13
cnpm install hexo-generator-index --save
cnpm install hexo-generator-archive --save
cnpm install hexo-generator-category --save
cnpm install hexo-generator-tag --save
cnpm install hexo-server --save
cnpm install hexo-deployer-git --save
cnpm install hexo-deployer-heroku --save
cnpm install hexo-deployer-rsync --save
cnpm install hexo-deployer-openshift --save
cnpm install hexo-renderer-marked@0.2 --save
cnpm install hexo-renderer-stylus@0.2 --save
cnpm install hexo-generator-feed@1 --save
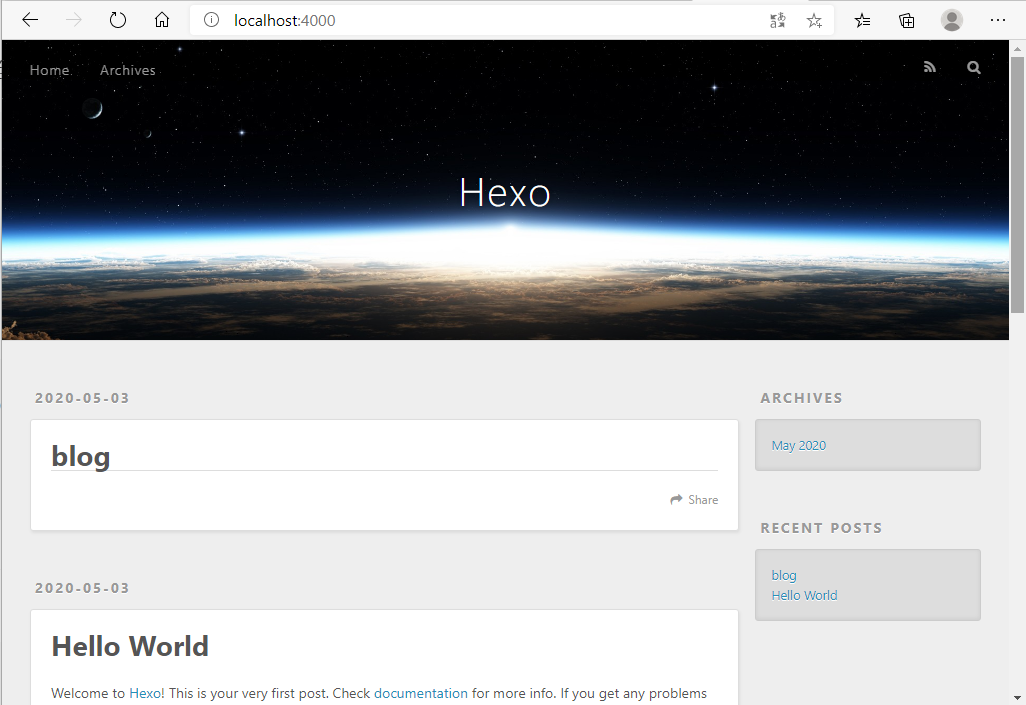
cnpm install hexo-generator-sitemap@1 --save启动Hexo
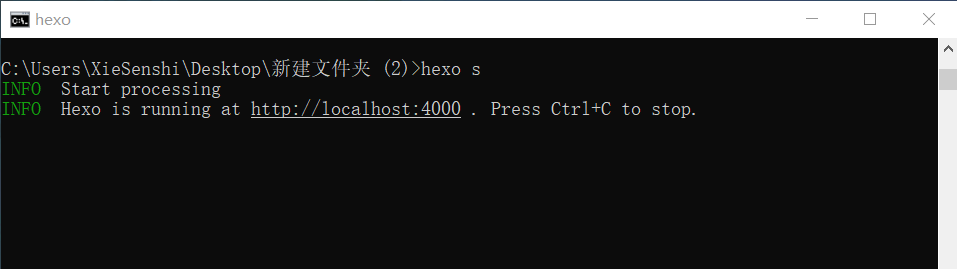
在浏览器打开https://localhost:4000即可看到刚刚搭建的博客
部署博客到Github
配置**_config.yml在Blog目录下找到*_config.yml***文件,用文本编辑器(推荐Typora)打开编辑以下项目:
1
2
3
4
deploy:
type: git
repo: git@github.com:用户名/用户名.github.io.git
branch: master新建一篇帖子
1
hexo new "first post"
便会在D:\Blog\source\ _posts目录下生成first post.md的文件,可以用markdown编辑器编辑帖子。
设置身份信息
1
2
git config --global user.name "GitHub用户名"
git config --global user.email "GitHub注册邮箱"
部署Github
1
hexo d -g
在浏览器打开:用户名.github.io即可看到刚刚编辑的博客。
到这里Hexo博客的基础搭建已经完成,更换主题的教程会下次更新。
返回